How Do I Get My Photos Out of Google Photos?
Google Photos is a popular cloud photo solution for backing up and storing photos and videos. It's a great way to get them off of a mobile device to free up the space on your phone or tablets.
However, there may come a time when you want to download your photos, whether it's for backup purposes, moving to another service, or just ensuring that you have a local copy (VERY IMPORTANT).
Here's a step-by-step guide on how to get your photos out of Google Photos:
Step 1: Access Google Photos And Pick and Choose Photos/Vidoes to Download
(If you want to get ALL of your photos, skip to Step 4)
- Navigate to Google Photos: Open your web browser and go to Google Photos.
- Log in: Sign in with the Google account you use to store your photos.
Step 2: Select the Photos
- Manual Selection: Click on each photo you wish to download. A blue checkmark will appear on the selected items.
- Select by Date: Drag your mouse to select photos within a certain range or select photos from a specific day by clicking on the date.
Step 3: Download Your Photos
- Download Single Photo: If you want to download a single photo, click on it to view, then click the three dots in the upper right corner and select "Download".
- Download Multiple Photos: After selecting multiple photos, click the three dots in the upper right corner of the screen and select "Download". Your selected photos will be downloaded as a ZIP file.
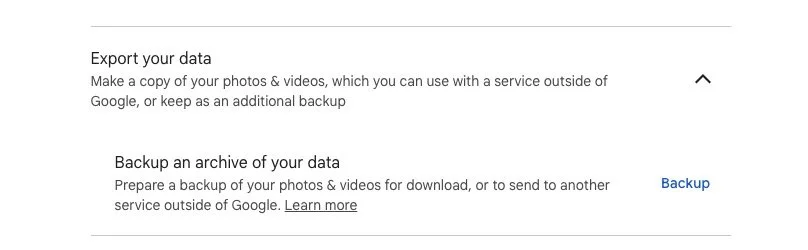
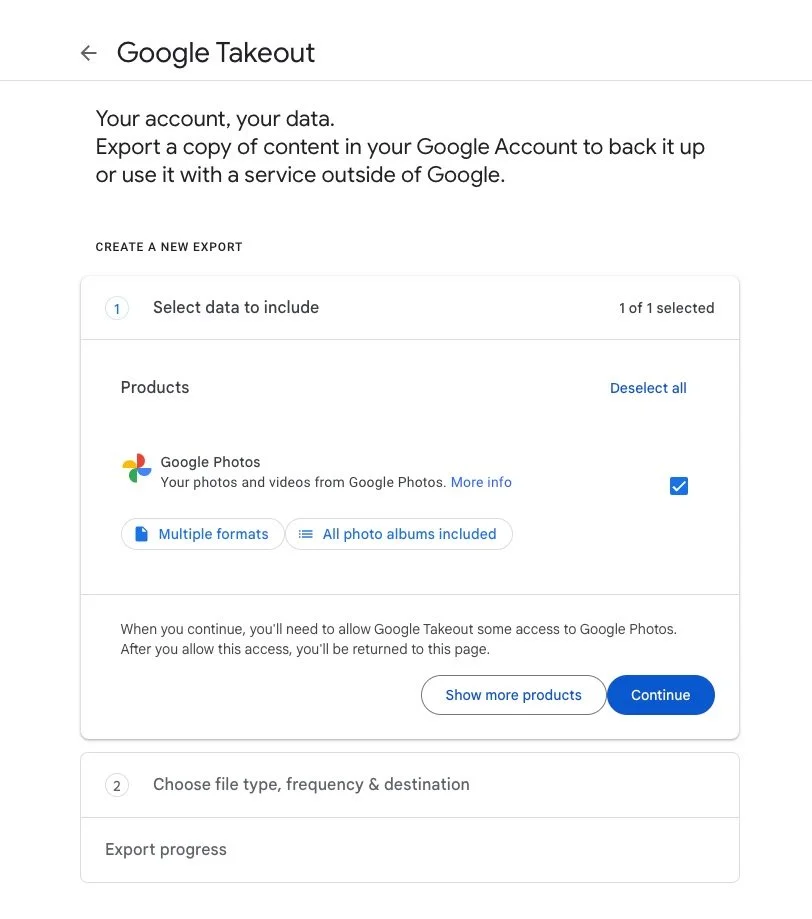
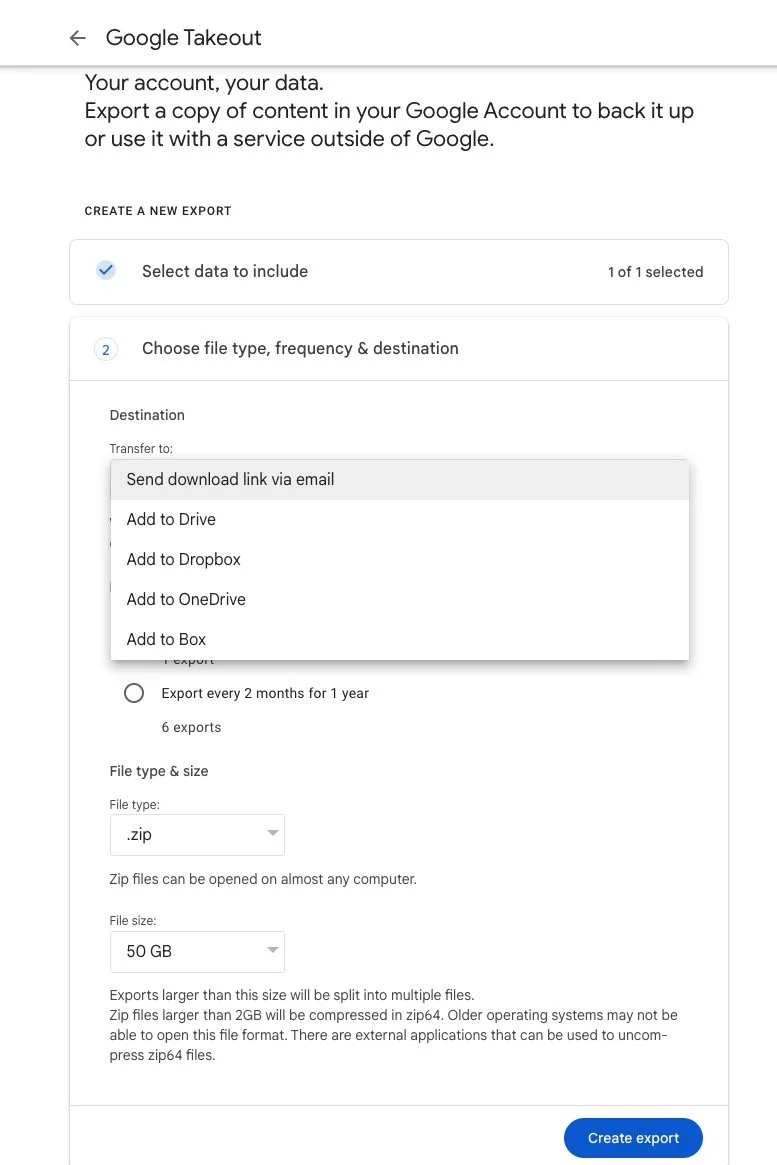
Step 4: Use Google Takeout for Large Batches or to Download your Entire Google Photo Library
- Visit Google Takeout: For downloading all your photos or a large number of them, use Google Takeout.
- Select Your Data: Make sure to check only "Google Photos" if that’s all you need. You can also choose specific albums or photo categories. This is important step so that you don't download more data than you need. You are only wanting your Photo library.
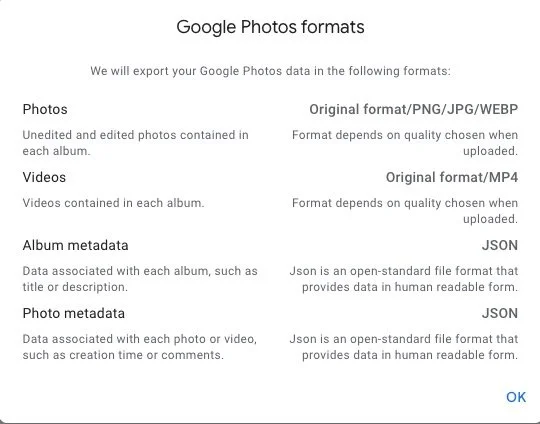
- Choose File Type and Size: Decide on the file type and maximum size. Larger files will be split into multiple parts. Depending upon how large your Library is in bytes, you may want to select the largest file download size you can. This is often 25GB or 50GB Zip files.
- Download: Click "Create export". You'll receive an email with a link to download when the archive is ready. When you click the email, you will then be taken to a webpage where all of your zip files are ready for you to click and download to your device. Make sure you have enough room on your device before you begin.

Step 5: Check Your Downloads
- Extract Files: Once downloaded, extract the ZIP files using your computer's archive manager. (Using a program like MYLIO PHOTOS can make it easier to read the data found in the zip files and import your photos and videos into a new photo library software for ease of access).
- Verify Integrity: Check a few photos to ensure they are downloaded and opened correctly without any corruption.
Step 6: Back Up Your Photos
- Local Storage: Save your photos on your computer’s hard drive or an external hard drive.
- Cloud Storage: Optionally, upload your photos to another cloud service for an additional backup like Dropbox, OneDrive, Backblaze, etc.
Tips for Managing Your Downloaded Photos
- Organize Immediately: To avoid clutter, organize your photos into folders by date, event, or subject as soon as you download them.
- Regular Backups: Regularly back up new photos to avoid future hassles.
- Check Storage Space: Ensure your device has sufficient storage before starting the download, especially if you are downloading a large batch.
This information should provide an overview if you're looking to download your photos from Google Photos, offering both basic and advanced options depending on your needs.